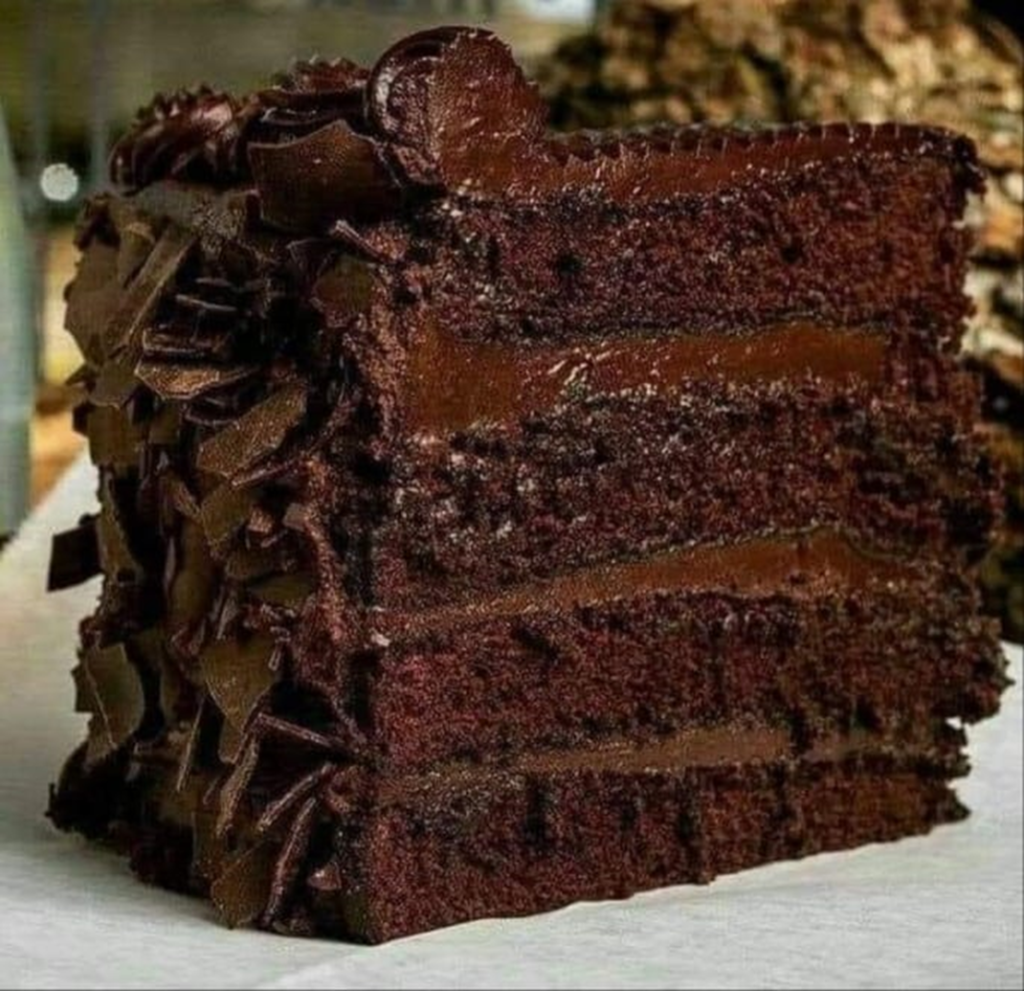
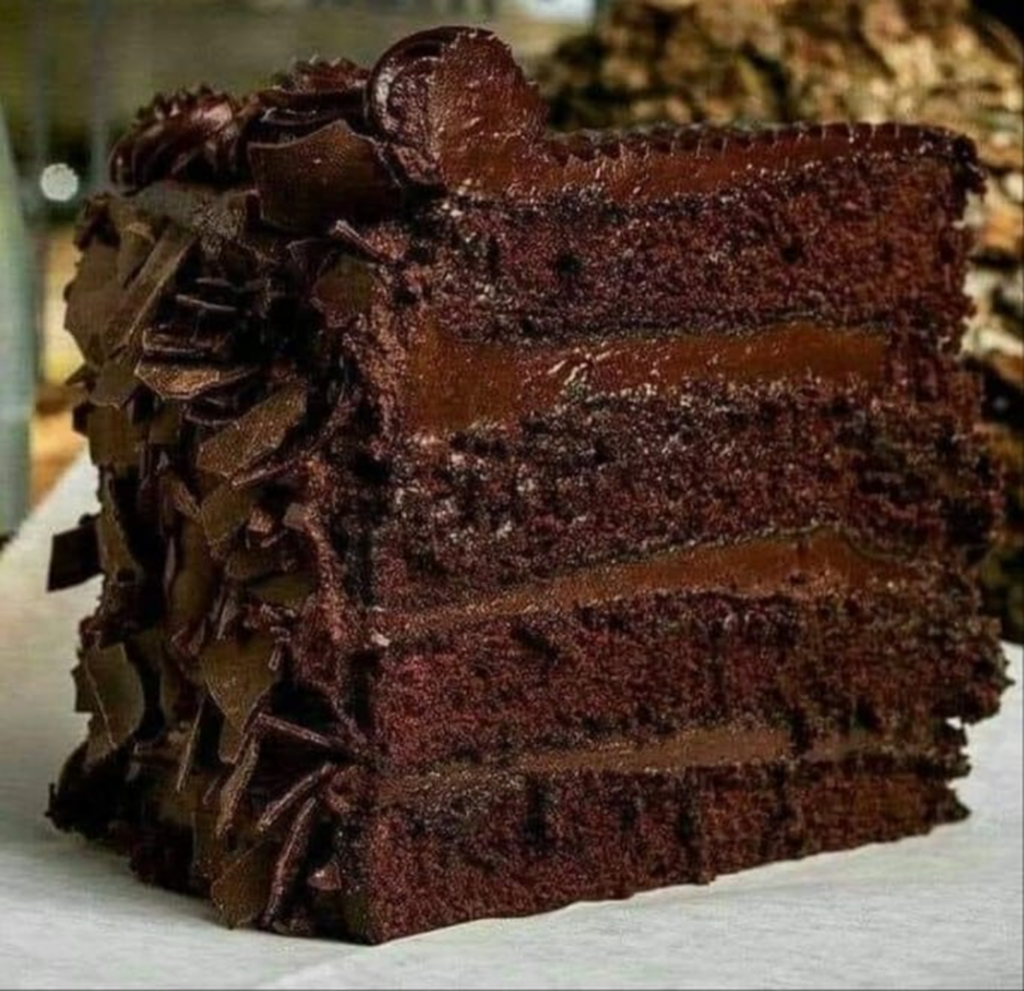
If you’re a chocolate cake enthusiast, you absolutely must give this irresistibly decadent Angelina recipe a whirl! This is a classic, time-tested formula that boasts an incredibly lush, moist, and indulgent quality. Bursting with a deep, luxurious chocolate taste and generously coated in a delectable chocolate frosting, it’s destined to become your go-to chocolate cake recipe.
What Ingredients do I need for Devils’ Food Cake?
The dry components consist of all-purpose flour, cocoa powder, baking powder, baking soda, and salt. It’s crucial to sift this flour mixture before incorporating it into the batter. This extra step ensures the absence of any significant lumps or pockets of dry ingredients, which could lead to excessive mixing or, even worse, uncombined elements.
Our non-dry, liquid ingredients include oil, butter, eggs, vanilla extract, sour cream, and hot coffee. This blend results in an exceptionally moist cake! Unfortunately, I can’t recommend substitutes if you’re aiming for a cake that replicates this exact texture. However, in a pinch, full-fat Greek yogurt can serve as a replacement for sour cream. While not an identical match, it comes remarkably close!
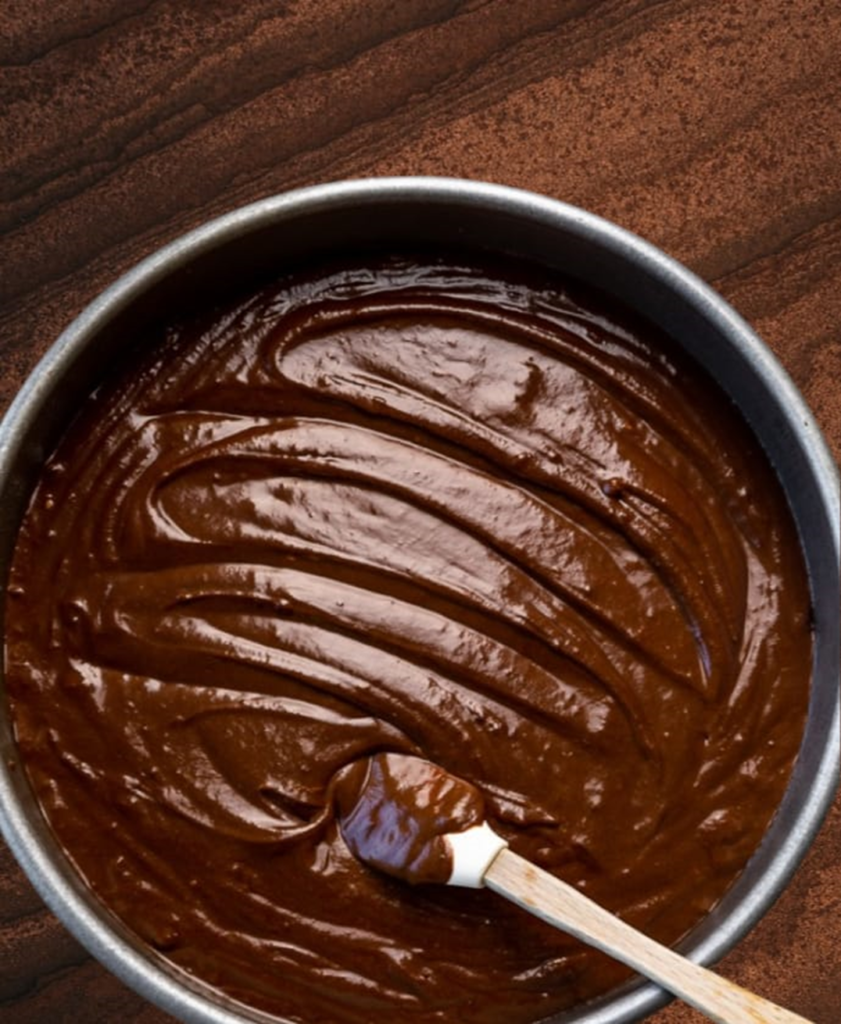
How about for the Frosting?
The frosting for this cake truly shines! Crafted from high-quality chopped chocolate, heavy cream, butter, vanilla, and a subtle hint of corn syrup, it boasts a thick, perfectly balanced sweetness that simply melts in your mouth. The addition of corn syrup also imparts a delightful sheen to the mixture.
It’s worth noting that this frosting requires some time to firm up in the refrigerator, so it’s advisable to prepare it in advance. The great news? You can make it up to 24 hours ahead and allow it to reach room temperature when you’re ready to use it.
If you find this frosting a bit too indulgent for your taste, consider opting for a cream cheese frosting or meringue buttercream as an alternative.
Let’s Bake Cake!
Let’s start with the essential first step: preheat your oven to 350 degrees Fahrenheit (F). I emphasize this because it’s important to note that most ovens take approximately 30 minutes to reach the desired temperature, so it’s best to do this before you commence your baking.
Following that, get your pans ready! You’ll require two 9-inch round pans for this recipe, along with parchment paper and baking spray to line and coat them. Nobody wants a cake that sticks!
Once your pans are prepared, it’s time to sift those dry ingredients. Following that, beat your butter and sugars together until the mixture attains a light and fluffy consistency. This process should take roughly 4 minutes, with occasional pauses to stop the mixer and scrape down the sides and bottom of the bowl.
Next, incorporate the eggs one at a time, followed by the addition of vanilla, and continue beating until everything is well combined.
Gradually introduce the dry ingredients, alternating with the oil and sour cream, and beat until they are just incorporated. The key here is to cease mixing as soon as you spot the faintest trace of dry ingredients. Finally, pour in your hot coffee. Allow the hot liquids to rest undisturbed on top of the batter for 30 seconds, then gently stir until the mixture is smooth.
Divide the batter evenly between the prepared baking pans and bake for approximately 40 to 45 minutes. Once done, allow the cakes to cool in their pans on a wire rack for about 20 minutes before removing them. Ensure they cool completely before proceeding to frost them.
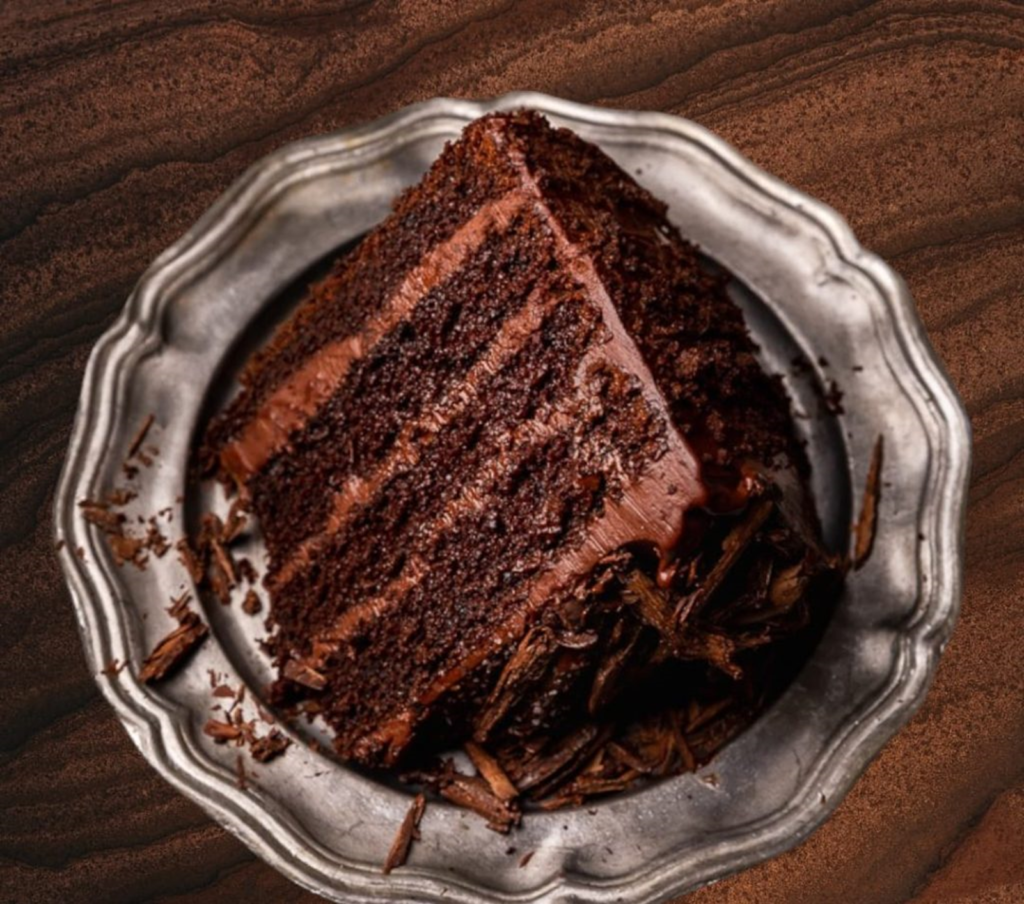
Make the Frosting!
Begin by putting your finely chopped chocolate into a medium-sized bowl. Then, bring your cream and corn syrup to a boil before pouring this hot mixture over the chopped chocolate. Combine the ingredients by pouring the cream into the bowl and whisking until you achieve a smooth and glossy texture.
Now, utilizing an electric mixer, beat in the butter at a low to medium speed. It’s important to add the butter gradually and continue mixing until it is completely integrated into the frosting. Afterward, place the frosting in the refrigerator until it reaches the desired firmness for spreading.
Assembly
Once your cakes have cooled, and your frosting has reached the desired firmness, you’re all set to start assembling your cake!
To begin, carefully slice each cake layer in half horizontally, and it’s advisable to use a serrated knife for this task. You’ll also use the knife to level off any domed portions on the cake tops. Set aside these cake scraps as we’ll put them to good use for decoration later on.
Now, position one of the cake layers on a cake plate and generously spread approximately 1/2 cup of frosting over it, ensuring complete coverage. Place another cake layer on top and repeat this frosting and layering process, concluding with the final cake layer on the very top. At this point, apply the remaining frosting evenly over the top and sides of the cake. Many prefer using an offset spatula for this purpose, as it provides precise control and a smooth finish.
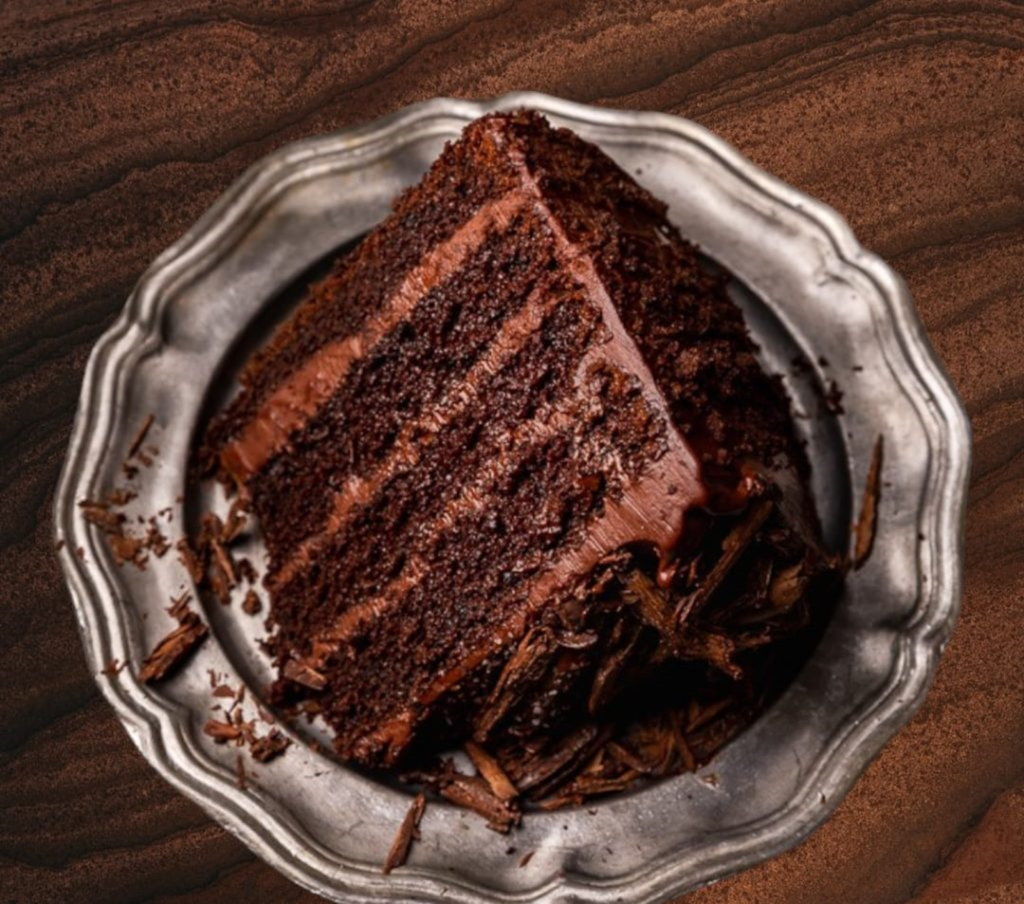
How long will this Last?
This cake is impressively large, but the good news is that it stores wonderfully! Simply store it in the refrigerator and allow it to return to room temperature before serving. You can expect it to remain fresh for approximately 5 days.Chocolate cake
PREP TIME30minutes mins
COOK TIME40minutes mins
INACTIVE TIME1hour hr 30minutes mins
TOTAL TIME2hours hrs 40minutes mins
COURSEDessert
CUISINEAmerican
Ingredients
For the Devil’s Food Cake:
- 2 and 1/4 cups all-purpose flour (270 grams)
- 1 cup cocoa powder, unsweetened non-alkalized (85 grams)
- 2 teaspoons baking soda
- 1 teaspoon baking powder
- 1 teaspoon salt
- 8 Tablespoons unsalted butter, at room temperature (113 grams)
- 2 cups granulated sugar (400 grams)
- 1/2 cup light brown sugar, firmly packed (106 grams)
- 3 large eggs plus 1 egg yolk, at room temperature
- 2 teaspoons vanilla extract
- 1/3 cup vegetable oil (64 grams)
- 1 cup sour cream (245 grams), at room temperature
- 1 cup hot freshly brewed coffee (245 grams)
For the Chocolate Frosting:
- 16 ounces high-quality semi-sweet chocolate, finely chopped (I prefer between 60% and 62%)
- 1 and 1/2 cups heavy cream
- 3 and 1/2 Tablespoons light corn syrup
- 1 teaspoon vanilla extract
- 16 Tablespoons unsalted butter, at room temperature
- 1/8 teaspoon fine sea salt
Instructions
For the Devil’s Food Cake:
- To get started, preheat your oven to 350 degrees Fahrenheit (F) and generously spray two 9-inch round baking pans with non-stick baking spray. Line the bottom of each pan with a round piece of parchment paper, and then give the parchment paper a quick spray with non-stick baking spray as well. Set these prepared pans aside.
- In a spacious bowl, sift together the flour, cocoa powder, baking soda, baking powder, and salt. Set this dry mixture aside.
- Now, in the bowl of a stand mixer equipped with the paddle attachment or in a large bowl using a handheld electric mixer, begin by beating the butter at medium speed until it becomes smooth, which should take about 1 minute.
- Gradually add both sugars one at a time, ensuring each sugar is fully incorporated into the butter before moving on. Increase the mixer speed to high and beat until the mixture turns light and fluffy, approximately 4 minutes. It’s a good practice to pause the mixer occasionally and scrape down the sides and bottom of the bowl to prevent any butter from sticking.
- Next, add the eggs and egg yolks one by one, giving each addition a thorough beating and scraping down the sides and bottom of the bowl as needed. Introduce the vanilla extract and beat until everything is well combined.
- In a spouted measuring cup, combine the oil and sour cream.
- With the mixer set to its lowest speed, add the flour mixture in three portions, alternating with the sour cream mixture in two portions. Mix until just combined; you should still see a faint trace of dry ingredients when you stop the mixer.
- Pour in the hot coffee and allow the mixture to sit undisturbed for 30 seconds. Then, using a rubber spatula, gently stir until the batter is evenly combined.
- Evenly divide the batter among the prepared pans, with each pan containing approximately 850 grams of batter. Smooth out the tops using a rubber spatula.
- Bake in the preheated oven for 38 to 45 minutes, or until a toothpick inserted into the center of a cake comes out clean or with a few moist crumbs attached.
- Let the cakes, while still in their pans, cool on a wire rack for 20 minutes. Afterward, invert the cakes onto the rack and allow them to cool completely, which should take about 1 hour.
For the Chocolate Frosting:
- Start by finely chopping the chocolate using a large chef’s knife. Once the chocolate is finely chopped, transfer it into the bowl of a stand mixer equipped with the whisk attachment.
- In a small saucepan, heat the cream and corn syrup over medium-high heat until it’s just about to reach a rolling boil. Remove the saucepan from the heat and carefully pour this mixture over the chopped chocolate.
- Let this combination sit undisturbed for a full 2 minutes. Then, using a rubber spatula or metal spoon, gently stir until the chocolate is entirely melted, and the mixture attains a smooth and glossy texture. Incorporate the vanilla during this stirring process.
- With the stand mixer running at medium speed, gradually add the butter, one tablespoon at a time, making sure to beat thoroughly after each addition. Do not add more butter until the previous addition has been completely integrated into the frosting. Finish by beating in the salt.
- Place the frosting in the refrigerator, covering it loosely. Allow it to chill for approximately 1 hour or until it reaches the desired firmness for spreading. It’s worth noting that you can prepare this frosting up to 24 hours in advance. Simply store it, covered, in the fridge. Before using, ensure it returns to room temperature for optimal consistency.
Assembly:
- With a long serrated knife, trim the domed tops of each cake layer to achieve a smooth and even surface. Subsequently, horizontally slice each cake into four even layers. Keep all the leftover cake scraps aside as we’ll use them later for decorating.
- Take one of the cake layers and place it on a spacious plate or cake stand. Proceed to spread 1/2 cup of frosting evenly over the cake, ensuring full coverage. Follow this by adding another cake layer and repeating the layering process, concluding with the final cake layer on top. Apply the remaining frosting generously over the entire top and sides of the cake.
- Using your hands, crumble the remaining cake scraps until they form fine crumbs. Gently press these crumbs onto the sides of the cake. You might have some extra crumbs, which you can either discard or indulge in as a tasty snack!
- Let the cake set for about 20 minutes before slicing. You can either serve it immediately or store it in the refrigerator for up to 5 days. Prior to serving, allow it to come to room temperature for the best enjoyment.